🍓 Raspbmc (Raspberry Pi) media server with VPN
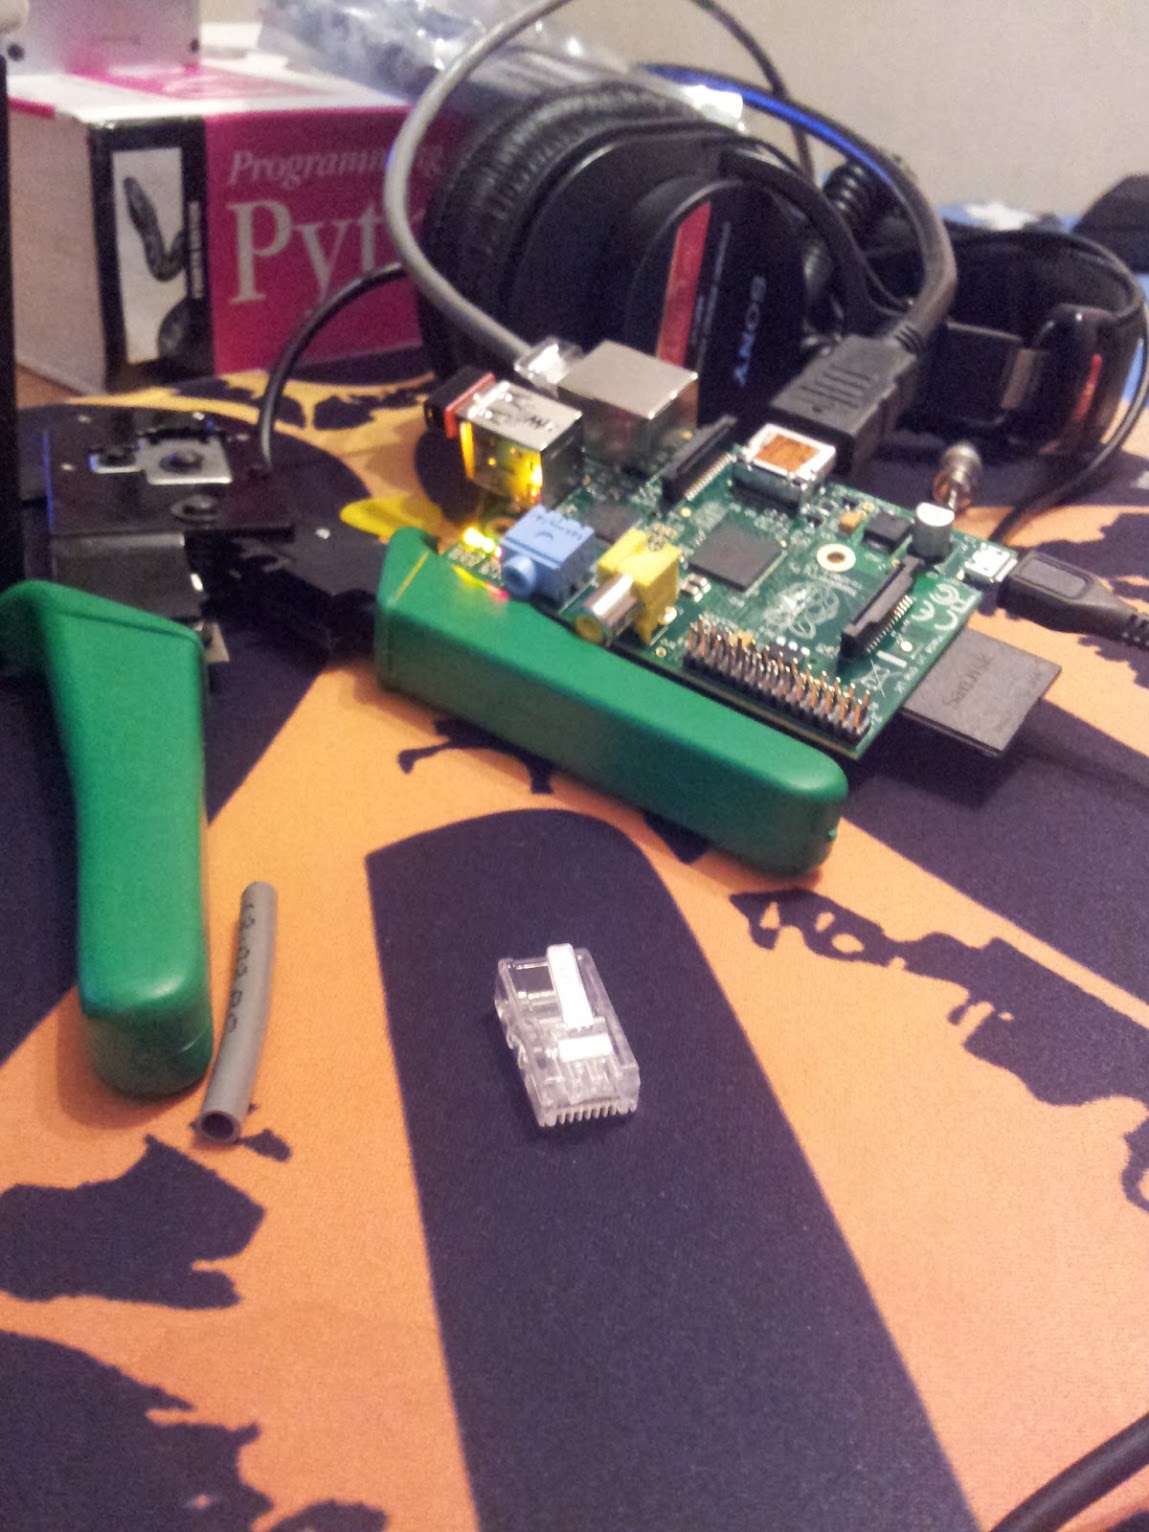
I recently obtained a Raspberry Pi device for use mainly as a home media server. Installing Raspbmc (XBMC for the Raspberry Pi) is easy, but I decided to configure OpenVPN on it as well. The underlying OS underneath Raspbmc is still Linux (it even has apt-get!) so there are many possibilities.
About the network
The main reason I want a VPN to my home is to access the 1TB external hard drive that has a ton of oft needed stuff (movies, tv series, and program installation backups) from anywhere in the world. It is connected to the Raspberry Pi/Raspbmc device via a powered USB hub. The problem with my ISP is that my external IP address always changes. Luckily, my cheap TP-Link home router is supported by the wonderful OpenWRT alternative firmware. Despite having only a few megabytes of storage, it still can support a Dynamic DNS client. I can then connect a DNS name to the router’s external IP address, and configure it so that whenever my external IP changes, the address that the DNS servers point to will change as well.
After configuring DDNS, you can enable a port forward so that an internal device’s port is mapped to another port on the router. A good practice is to map a well-known port to a high port. Both for security and so that it is less likely to conflict with an already-open port on the external IP address. For example, the following picture shows a mapping between internal port 22 and external port 60127:
OpenVPN’s port 1194 can be mapped the same way.
Install OpenVPN on Raspbmc (the Server)
ssh into the Raspbmc device with the default username “pi” and password “raspberry”. The password should ideally be changed with the passwd command, but it’s not necessary.
For the actual installation of OpenVPN, I followed the tutorial at: http://www.raspberrypi.org/phpBB3/viewtopic.php?t=20916
For the gist:
sudo apt-get install openvpn
cd /usr/share/doc/openvpn/examples/easy-rsa
sudo cp -R /usr/share/doc/openvpn/examples/easy-rsa /etc/openvpn
cd /etc/openvpn/easy-rsa/2.0
Change the “vars” file using sudo nano or sudo vi to something like the following:
export KEY_COUNTRY="US"
export KEY_PROVINCE="CA"
export KEY_CITY="SanDiego"
export KEY_ORG="OpenVPN"
export KEY_EMAIL="[email protected]"

sudo /bin/bash
. ./vars
sudo ./clean-all
sudo ./build-ca
Server keys:
./build-key-server server
Client key(s):
./build-key client1
Diffie Hellman (this takes a lot of time):
./build-dh
And then
cd /etc/openvpn/easy-rsa/2.0/keys
cp ca.crt ca.key dh1024.pem server.crt server.key /etc/openvpn
cp /usr/share/doc/openvpn/examples/sample-config-files/server.conf.gz /etc/openvpn
gunzip /etc/openvpn/server.conf.gz
Configure OpenVPN on Windows 7 (the Client)
Install OpenVPN’s Windows Installer from https://openvpn.net/index.php/open-source/downloads.html
Now copy the client1.crt, client1.key and ca.crt keys from the Raspbmc server to your Windows 7 computer. They should be moved to C:\Program Files\OpenVPN\config
And copy the client.ovpn file from C:\Program Files\OpenVPN\sample-config folder to the config folder mentioned above. Rename it to something else like “xbmc.ovpn” and change some lines.
Enable the tun interface:
Use the same setting as you are using on the server. On most systems, the VPN will not function unless you partially or fully disable the firewall for the TUN/TAP interface.
dev tun
Change my-server-2 to your DDNS name and 1194 to your forwarded port on the router: The hostname/IP and port of the server. You can have multiple remote entries to load balance between the servers.
remote my-server-2 1194
And change the # SSL/TLS parms as follows:
ca "C:\\Program Files\\OpenVPN\\config\\ca.crt"
cert "C:\\Program Files\\OpenVPN\\config\\client1.crt"
key "C:\\Program Files\\OpenVPN\\config\\client1.key"
Now configure additional stuff on the Raspbmc
The /etc/openvpn/server.conf file:
Enable Server mode:
server 10.8.0.0 255.255.255.0
Enable the following so that clients will redirect all traffic via the VPN: push “redirect-gateway def1 bypass-dhcp”
Configure DNS for clients (here using Google’s Public DNS):
push "dhcp-option DNS 8.8.8.8"
push "dhcp-option DNS 8.8.4.4"
The rest is all default values.
Configure iptables:
This command essentially disables iptables. It’s crude, but gets the job done quickly. Of course, you can enable your needed ports one by one (web, sanba, openvpn etc):
sudo iptables --flush
Enable masquerading so that client traffic coming out of the tunnel is NATed to the LAN network and internet:
sudo iptables -t nat -A POSTROUTING -s 10.8.0.0/24 -o eth0 -j MASQUERADE
You can check if iptables is configured using sudo iptables -L and sudo iptables -t nat -L
Start the OpenVPN service and test it
Start it using sudo /etc/init.d/openvpn start
And connect to your VPN from an external network (not from the same LAN the Raspbmc device is located) using the OpenVPN GUI. Once the small OpenVPN is green, you’re connected:
Now you can test if your network traffic really is being routed though the VPN using tracert, tracing a route from your computer to an internet address, such as 8.8.8.8. Traffic goes to 10.7.0.1, which is the Raspbmc device’s VPN address. It then goes to 192.168.7.1, which is my home router. Then, it goes to 7.7.7.7, a internal address from my ISP, then a few hops later, to 8.8.8.8.
Done.
Other stuff to take into consideration
Things get messy when the subnet you’re connected to (192.168.1.0/24 here) and your home LAN (192.168.7.0/24, which you connect to using OpenVPN) have the same subnet address. I just changed my home LAN’s subnet address to something that’s different from my school/work address you’re most likely to connect from.
Write an actual iptables rule instead of flushing everything. Something like the following (added to the default Raspbmc iptables):
sudo iptables -I INPUT 3 -p tcp -m tcp --dport 22 -j ACCEPT
sudo iptables -I INPUT 3 -p udp -m udp --dport 22 -j ACCEPT

sudo iptables -I INPUT 3 -p udp -m udp --dport 1194 -j ACCEPT
sudo iptables-save
Enabling a samba share on Raspbmc makes it really easy to get files on the network. Just open the “Run” program on Windows (WinKey+R) and type in \\192.168.7.100 (your Raspbmc IP address). Then enter the same username and password you use to SSH into the Raspbmc and voila.
You can use the same key on multiple clients using the setting duplicate-cn setting on /etc/openvpn/server.conf